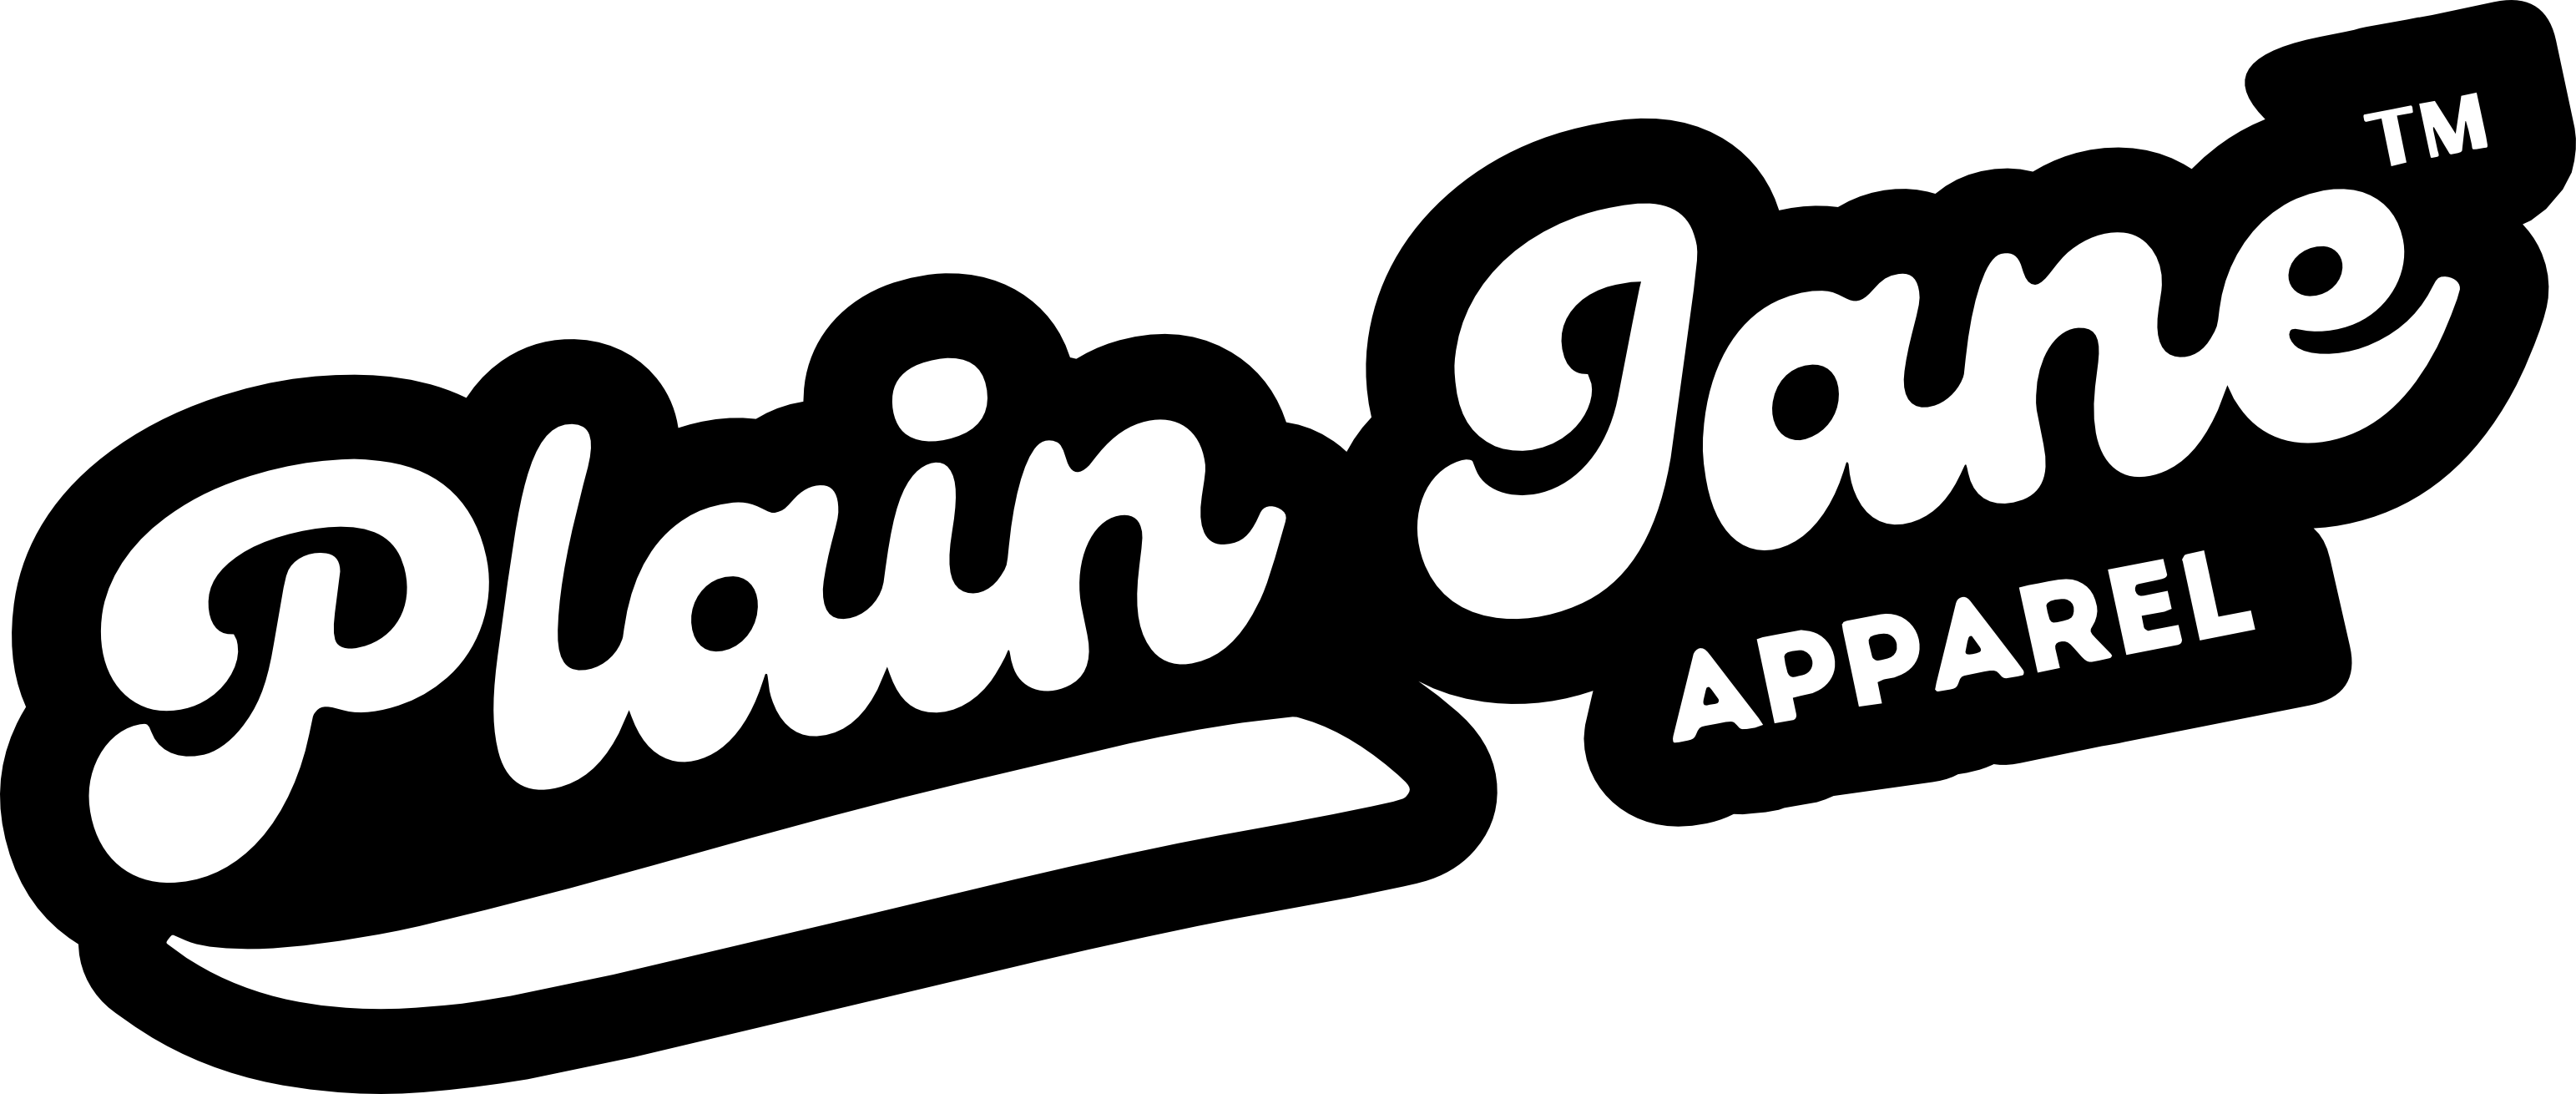

An oversized tee is one of the easiest things to own and one of the easiest things to wear badly. The failure is always the same: the shirt is large, nothing else in the outfit indicates where your body is, and the whole thing reads as a person hiding rather than a person dressed.
The fix is not a smaller shirt. It is giving the eye one clear reference point.
Why it goes wrong
Clothing communicates through outline. When a garment is deliberately large, you have given up the outline it would normally provide, so something else has to supply it — a waist, an ankle, a wrist, a shoulder line.
Give up all of them at once and there is nothing to read. That is the difference between an outfit that looks intentional and one that looks like you got dressed in the dark.
Everything below is a different way of putting one reference point back.
1. The front tuck
The most reliable technique and the one worth learning properly.
Take a small amount of fabric at the center front of the shirt — just the front, not the sides or back — and tuck it into your waistband. Not neatly. The point is to define the waist while leaving the rest of the shirt loose.
What makes it work: it establishes a waistline without flattening the volume everywhere else. The shirt still reads oversized; you simply know where the person inside it ends.
Getting it right:
- Tuck less than you think. Two to four inches of fabric width, centered.
- Let it blouse slightly above the waistband rather than pulling it taut.
- Push the sides down a little so the tuck does not sit in a stiff triangle.
- It works best with a waistband that sits at or above the natural waist. Low-rise bottoms give the tuck nothing to define.
This is the technique that makes a graphic tee work with almost anything, which is why it is worth practicing in a mirror once rather than improvising on the way out the door.
2. Contrast the volume
If the top is wide, make the bottom narrow. Straight-leg, tapered, or slim trousers give the outfit a clear vertical line under all that width.
This is the simplest version and the one that requires no technique at all. Big top, narrow bottom, done.
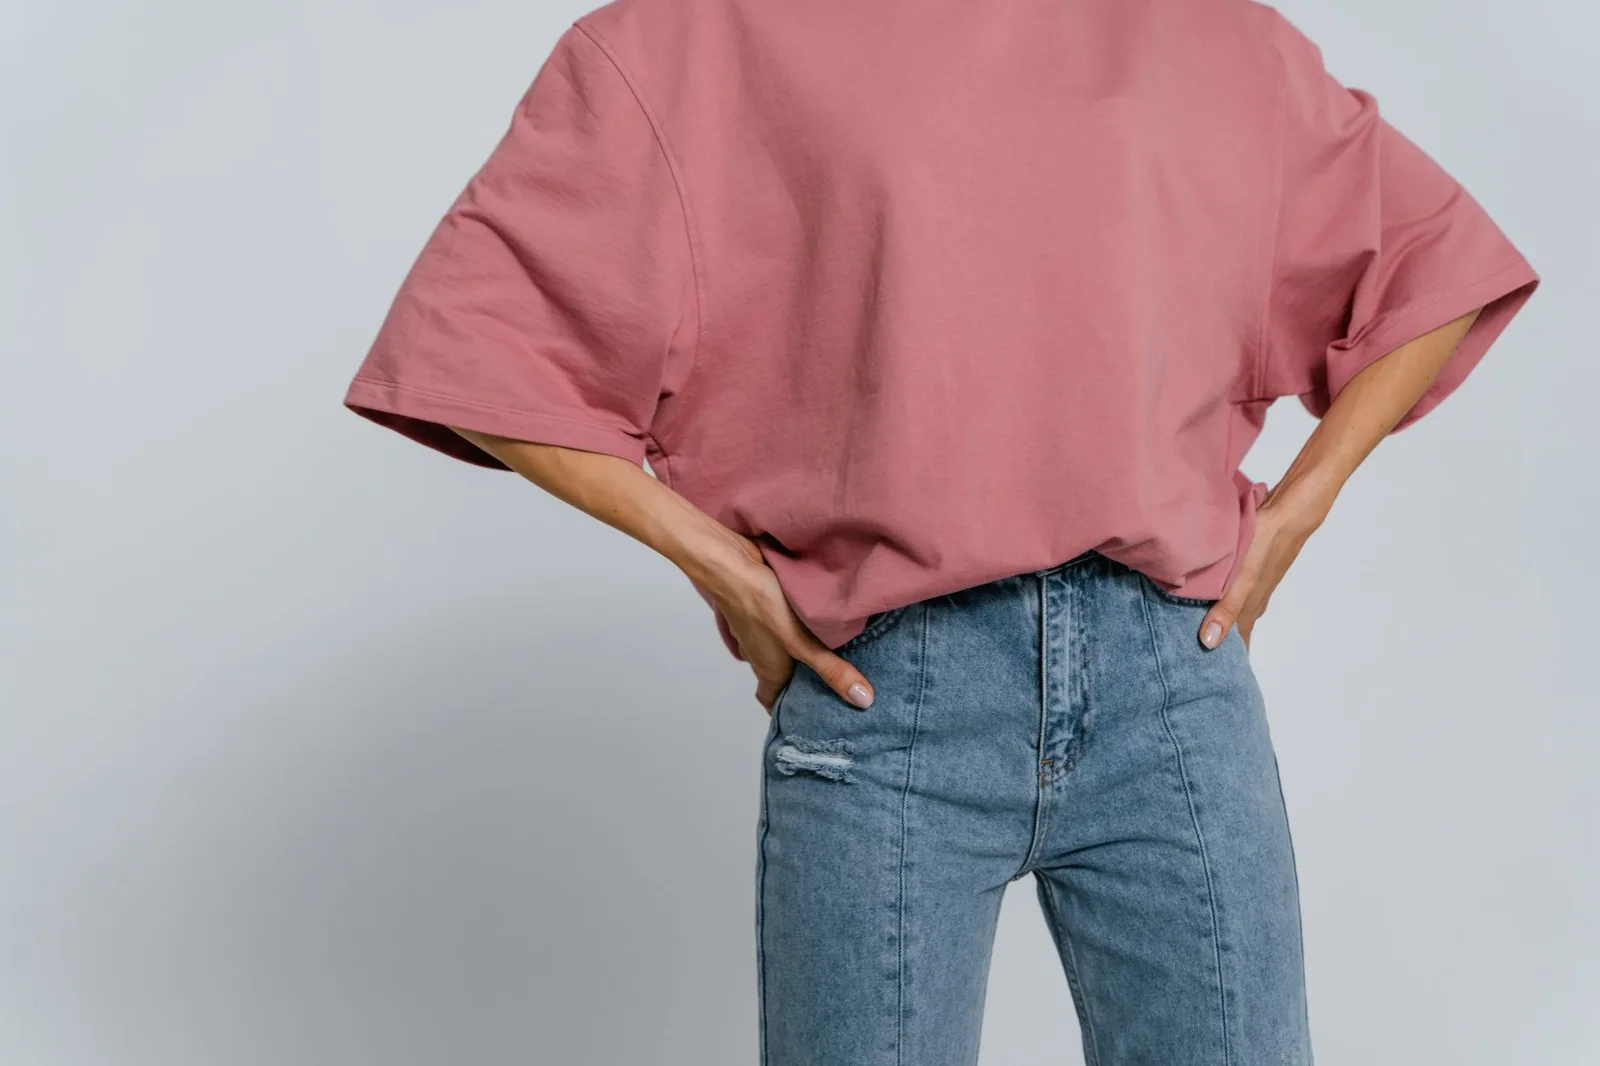
The subtler version is to keep the volume but change where it sits. A wide-leg trouser with a defined high waist can work with an oversized tee, provided the waist is visible — a tuck, a belt, or a trouser that is genuinely fitted through the hip before it flares. What does not work is wide fabric starting at the shoulders and continuing uninterrupted to the floor.
The pairing that never works: oversized tee, oversized bottom, no waist definition, no layer. Every reference point is gone at once. This is the single most common way the look fails, and no accessory rescues it.
3. Layer something structured over it
Put a piece with actual shoulders over the top: a denim jacket, a blazer, a fitted overshirt, a leather jacket.
The layer supplies the outline. The tee underneath can then be as loose as you like, because the structured piece is doing the work of showing where your shoulders and torso are.
Why this is the most forgiving option: it requires no tucking, no particular trouser, and no technique. It also solves the problem of an oversized tee in a setting where you want to look slightly more put together, since a jacket does most of that lifting.
What to look for in the layer: a defined shoulder seam and a length that ends above the hem of the tee. A jacket shorter than the shirt creates a deliberate layered hem, which reads well. A jacket that ends at exactly the same point as the shirt looks accidental.
Length is the variable people ignore
An oversized tee that hits mid-thigh is a different garment from one that hits at the hip, and they need different treatment.
Hip length or just below: the most versatile. All three techniques work.
Mid-thigh: now it is competing with your bottom half for attention. Either lean into it — treat it as a very short dress over leggings or narrow trousers — or tuck it, which effectively shortens it.
Past mid-thigh: it is a dress, and should be styled as one.
If you are buying rather than restyling, the size guide lists body length for every size, and checking that number against a shirt you already own tells you which of these three situations you are buying into.
Sleeves matter more than expected
An oversized cut usually drops the shoulder seam onto the upper arm, which lengthens the visual sleeve. On a shorter frame that can push a short sleeve down toward the elbow, which shortens the arm and drags the whole proportion down.
A single fold at the sleeve hem fixes it. Not a tight roll, just a turn of an inch or so. It shortens the sleeve, adds a defined edge at the arm, and gives the eye another reference point — which is the same job everything else in this article is doing.
What to wear it with on the bottom
Since the trouser is doing half the work, it is worth being specific about which ones cooperate.
Straight-leg jeans. The safest pairing and the reason it appears in every version of this outfit. A straight leg is narrow enough to contrast the top without being tight enough to make the proportion bottom-heavy in reverse.
Tapered trousers. Slightly sharper. The narrowing toward the ankle creates a clear line that an oversized top sits above cleanly.
Track pants and joggers. These work, with a caveat: an elasticated cuff already creates a defined ankle, so you get a reference point for free. What they lack is a defined waist, which means the front tuck matters more here, not less.
Shorts. Underrated with an oversized tee, provided the short ends above the knee. The exposed leg does the same job a narrow trouser does.
Skirts. A fitted midi or a straight skirt works well. A full or pleated skirt is volume-on-volume and needs the tuck to be doing serious work.
The thing to check in all cases is where the waistband sits. A high or natural waist gives a tuck somewhere to define. A low rise leaves the tuck floating with nothing to reference, which is why the technique feels like it "does not work" on certain trousers.
Fabric decides whether it drapes or stands
The same oversized pattern behaves completely differently depending on weight. A heavier cotton holds its shape and stands slightly away from the body, which is what makes the look read sculptural. A thin, soft fabric collapses and clings in the places you were trying to skim over.
If you want the structured version, weight is not optional, and it is worth knowing what the number on the product page means.
Putting it together
Three outfits that need nothing you do not already own:
- Oversized tee, front tuck, straight-leg jeans, low sneakers. The default. Works nearly everywhere.
- Oversized tee untucked, narrow trouser, structured jacket, boots. Slightly sharper, no technique required.
- Oversized tee, high-waisted wide-leg trouser, tucked, minimal shoe. The most fashion-forward of the three and the least forgiving, because the tuck has to be doing real work.
The underlying rule is the one worth remembering when none of these quite fit your wardrobe: the eye needs one place to land. Waist, ankle, or shoulder. Pick one and make it clear, and an oversized garment stops looking like it is wearing you.
For more on how volume works across a whole wardrobe rather than a single outfit, the five-piece capsule guide works through the same principle with a hoodie as the anchor.