

Most people size a shirt by chest measurement. It is the number on the size chart with the largest font, and it is the one you can check by pulling the garment across yourself in a mirror.
Shoulder width decides more, and almost nobody checks it.
The reason is structural. The shoulder seam is the fixed point a shirt hangs from. Everything below it — how the chest sits, where the sleeve falls, whether the body drapes cleanly or pulls diagonally — depends on that seam being in the right place. Chest room can be a little generous or a little snug and the shirt still works. Get the shoulder wrong and nothing else compensates.
Where the seam is supposed to sit
On a standard set-in sleeve, the shoulder seam should land at the outer edge of your shoulder — roughly where the flat plane of the top of your shoulder starts curving down into your arm. You can find that point by running a finger outward along your collarbone until you feel the bone end.
That is the reference. Three things can go wrong relative to it.
Seam inboard of the shoulder point. The sleeve is being pulled onto the shoulder, which means the shirt is too narrow. You will see diagonal stress lines running from the armhole toward the chest, and the sleeve will feel like it is gripping. Movement is restricted, and the shirt looks like it belongs to someone smaller.
Seam on the shoulder point. Correct for a standard fit. The shirt hangs straight down from the shoulder with no pulling.
Seam outboard, on the upper arm. Either the shirt is too wide, or it is a deliberate drop shoulder. Which one it is depends entirely on how the sleeve was drafted, and that distinction is the whole subject.

Drop shoulder versus too big
This is where people get confused, and the confusion costs them money.
A drop shoulder is a design choice. The pattern deliberately extends the shoulder past the natural point, and — critically — the sleeve is redrawn to suit that position. The armhole is lower and wider, the sleeve is cut fuller, and the whole assembly is designed to hang correctly from a seam sitting on the arm.
A shirt that is simply too big has the same seam position by accident. The armhole was drafted for the shoulder point, so at the wrong position the sleeve hangs oddly, bunches under the arm, and pulls when you raise your arm.
How to tell them apart on your body:
- Raise your arms forward. A properly drafted drop shoulder moves with you. An oversized standard cut binds across the back and the whole shirt lifts.
- Look at the sleeve hanging at rest. A drop shoulder falls in a smooth line. An upsized regular cut shows a diagonal fold running from the underarm toward the elbow.
- Check the armhole depth. Drop shoulder designs pair the extended shoulder with a noticeably deeper armhole. If the shoulder is dropped and the armhole is shallow, the pattern was not drawn for this.
The practical consequence is that you cannot buy a drop-shoulder look by sizing up. Sizing up and buying an oversized cut are different purchases, and the shoulder is where the difference becomes visible.
Measuring it
Lay the garment flat, face up, and smooth it out. Measure straight across the back from the point where one shoulder seam meets the collar to where the other does. That is the shoulder width figure on a size chart.
To get your own number, measure a shirt you already own that fits the way you want. That is a far more reliable target than measuring your body, because it already accounts for how much ease you personally prefer.
Two shirts with identical chest measurements can differ by an inch and a half across the shoulders, and that inch and a half is the difference between a shirt that looks made for you and one that looks borrowed.
The size guide lists shoulder width alongside chest and length for exactly this reason.
Why shoulders resist alteration
There is a practical argument for prioritizing this measurement: it is the hardest thing to fix afterward.
A tailor can take in a side seam, shorten a sleeve, or crop a hem in minutes. Narrowing a shoulder means detaching the sleeve, recutting the armhole, and reattaching it, which on a knit garment is usually not worth doing at all.
So the buying order is: get the shoulders right, then accept or alter everything else. A shirt that fits the shoulders and is loose through the waist is a shirt a tailor can finish. A shirt that fits the waist and is tight across the shoulders is finished already.
What it looks like on a T-shirt specifically
Knit garments are more forgiving than woven ones, so the failure is subtler and easier to talk yourself out of.
A tee with too-narrow shoulders will not visibly pull the way a shirt does, but the sleeve opening ends up higher on the arm and the whole garment sits slightly lifted. It reads as a shirt that shrank.
A tee with too-wide shoulders drops the sleeve onto the upper arm, which lengthens the visible sleeve and shortens the arm. On shorter frames especially, this drags the proportion down.
Because knits stretch, people often size a tee by whether it feels comfortable, and a too-wide tee feels perfectly comfortable. Comfort does not detect this problem. Only the seam position does.
Shoulder taping is a separate matter from shoulder width, but both live in the same few inches of garment, and the presence of that tape is what decides whether the shoulder line survives a year of washing.
Raglan and other sleeve constructions
Not every shirt has a shoulder seam to check, which is worth knowing before you go looking for one that is not there.
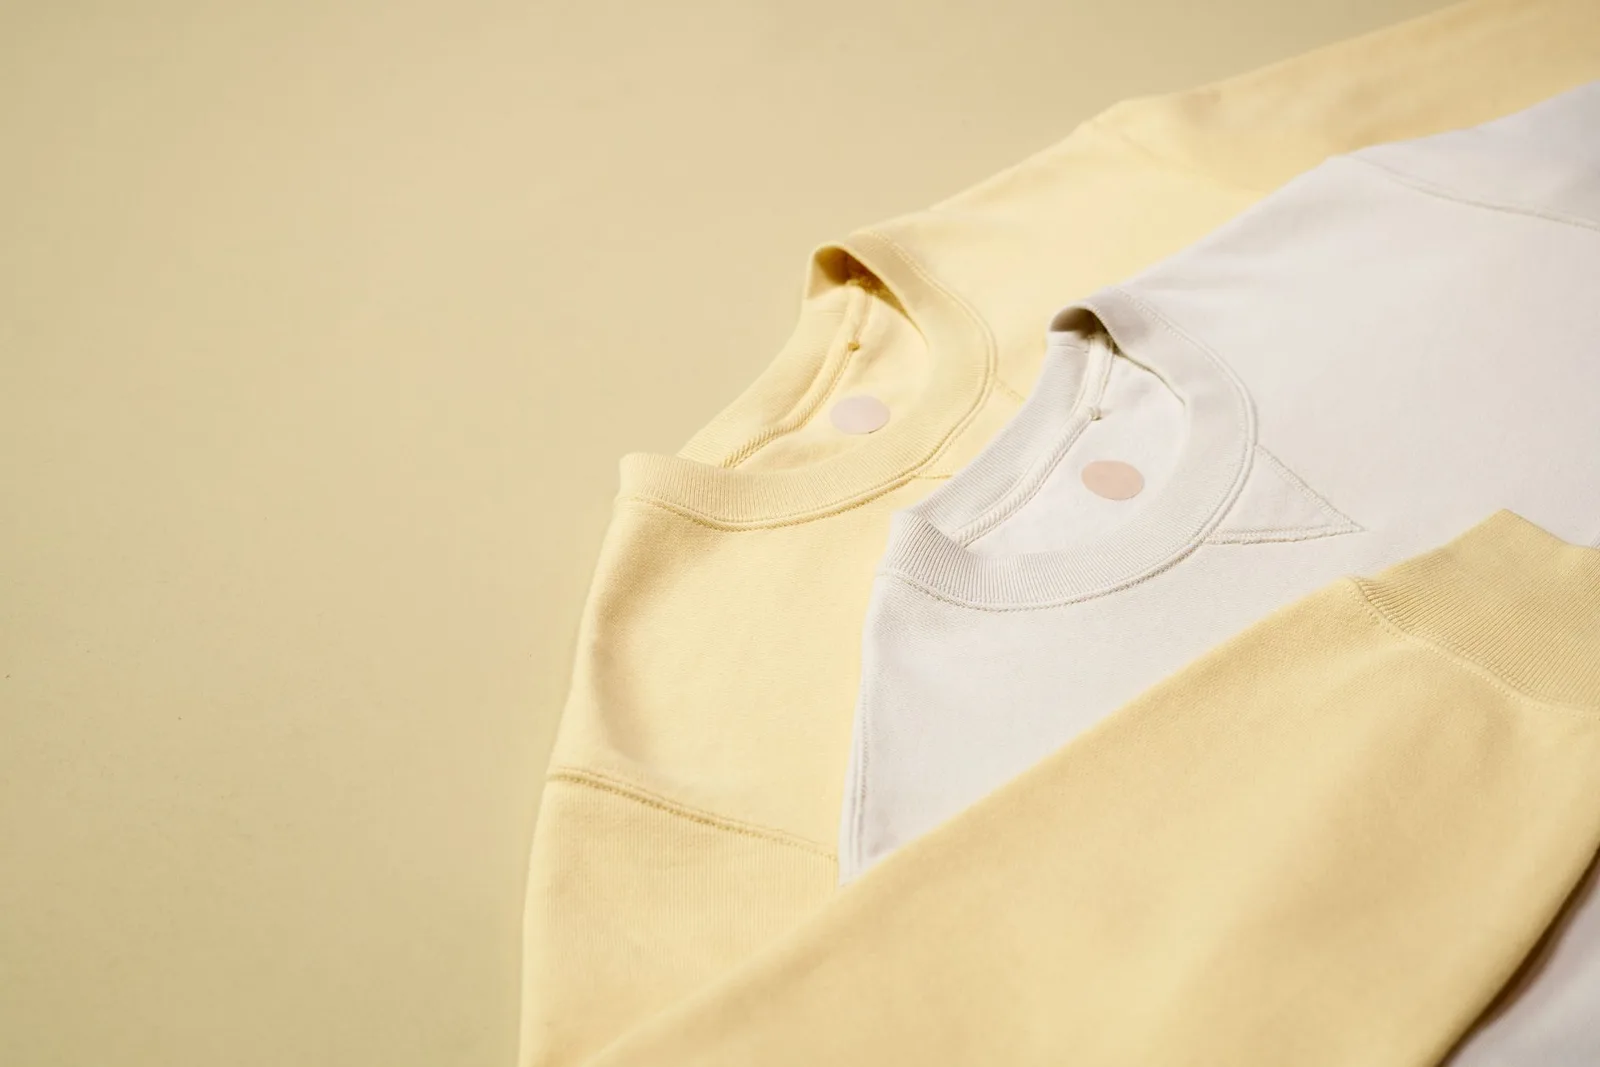
Raglan sleeves run in a diagonal line from the underarm to the collar, with no shoulder seam at all. The sleeve and part of the shoulder are one piece. This gives a wider range of motion, which is why raglan turns up on sweatshirts and athletic wear. Fitting a raglan is more about chest and sleeve length, since there is no seam position to align.
Saddle shoulders are a variation where the sleeve extends across the top of the shoulder in a strip. Common in knitwear.
Set-in sleeves are the standard construction and the one everything above applies to. The sleeve is a separate piece joined at a seam that runs around the armhole.
For a set-in sleeve, the seam is a hard reference point and you should use it. For a raglan, you are judging by where the diagonal seam crosses your chest and whether the underarm sits comfortably — a raglan whose underarm is too low restricts movement in a different way, by binding when you lower your arms rather than when you raise them.
Most T-shirts are set-in. Most sweatshirts could be either, and it is worth checking which one you are looking at before deciding a garment fits badly.
A quick checklist
When trying anything on, in order:
- Find the shoulder seam. Is it at the shoulder point, inboard, or on the arm?
- If it is on the arm, decide whether that is the design. Check the armhole depth and how the sleeve hangs.
- Raise your arms forward and to the side. Note whether the garment binds or lifts.
- Then check the chest, which is now the easy part.
- Then the length, which is the easiest thing to alter and should be the last thing to veto a purchase.
Most people run that list in reverse and wonder why the shirt never looks quite right.
Our tees list shoulder width per size in the flat measurements, which is the number worth writing down before you order anything. It is also the measurement that transfers most reliably between brands, since it is anchored to a physical point on your body rather than to how much ease a designer decided a chest should have.