

There is a persistent gap between how an outfit looks in a mirror and how it looks in a photo of the mirror. The clothes are the same. The photograph is doing something to them.
Most of that gap comes down to three things, and none of them require a camera.
Light is most of it
If you change one thing, change the light.
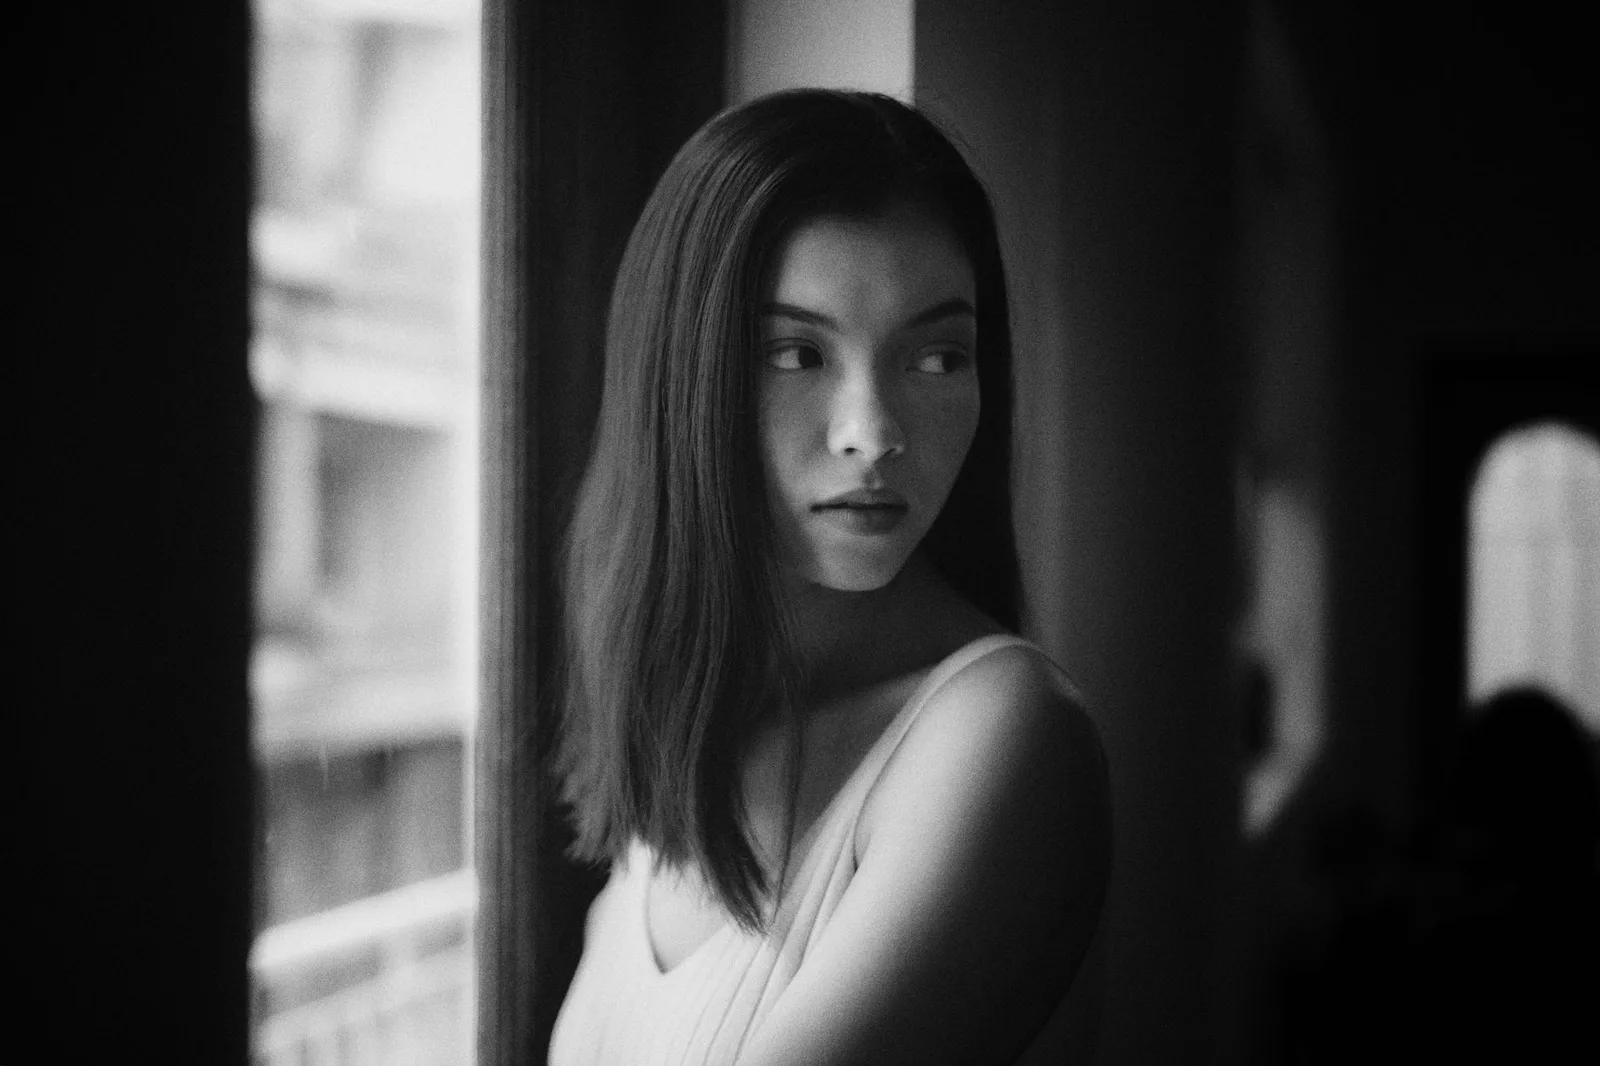
Window light is the best free option. Stand facing a window, a few feet back, with the light coming from in front of you or slightly to one side. Soft, directional, and it renders color accurately.
Overcast days are better than sunny ones. Cloud cover diffuses sunlight into a large soft source. Direct midday sun creates hard shadows and blown-out highlights, and it is unflattering on both faces and fabric.
Overhead ceiling light is the worst common option. It comes from directly above, which drops shadows into eye sockets and flattens texture out of fabric. Most indoor outfit photos look bad for this reason alone.
Mixed light sources cause color problems. Window light is cool, most bulbs are warm, and a phone cannot white-balance for both simultaneously. Turn the lamps off and use the window, or close the curtains and use the lamps. Not both.
Distance and lens distortion
This is the technical point that explains a lot of confusing results.
Phone cameras have wide-angle lenses. Wide lenses exaggerate whatever is closest to them. Photograph someone from three feet away and their nearest features enlarge while everything else recedes — which is why close-range selfies distort faces and why an outfit shot from arm's length makes the torso look wrong.
The fix is distance. Back up and, if your phone offers it, use the 2x lens rather than the wide one. A photo taken from eight or ten feet away renders proportions much closer to how they actually are.
For a full-length shot, this genuinely matters. Standing close and tilting the phone up produces a photograph where your feet are enormous and your head is small. The garment's proportions — which is what you were trying to see — are misrepresented entirely.
Camera height
Hold the camera at roughly the vertical midpoint of what you are photographing.
- Full-length outfit: camera at about waist height, held level. Not tilted.
- Upper body: camera at chest height.
- A garment on a hanger: camera level with the middle of the garment.
Tilting is what causes the distortion people associate with bad phone photos. A level camera at the midpoint keeps vertical lines vertical, and vertical lines are how a viewer reads proportion.
For a mirror shot, this means holding the phone lower than feels natural — roughly at your waist rather than at your chest — and it makes a substantial difference.
Backgrounds
The background's job is to not be interesting.
A plain wall is ideal. A door, a curtain, a quiet exterior wall all work. What does not work is a background with strong patterns, bright colors, or clutter, because the eye goes there instead of to the clothes.
Contrast matters too. A black outfit against a dark wall loses all its edges and reads as a silhouette. Light garments want a mid-tone or darker background; dark garments want something lighter.
This is the same reasoning that governs how colors work in an outfit — the eye needs contrast to read shape, whether that shape is a garment against a background or a waistline within an outfit.
Photographing garments rather than outfits
If you are selling something, documenting a wardrobe, or comparing fits, a photo of the garment itself is more useful than one of you wearing it.
Flat lay. Garment on a flat, plain surface, smoothed out, camera directly overhead and level. This is the most accurate way to show shape and is what makes measurements legible. Getting the camera truly parallel to the surface is the whole trick — any tilt makes one side look longer than the other.
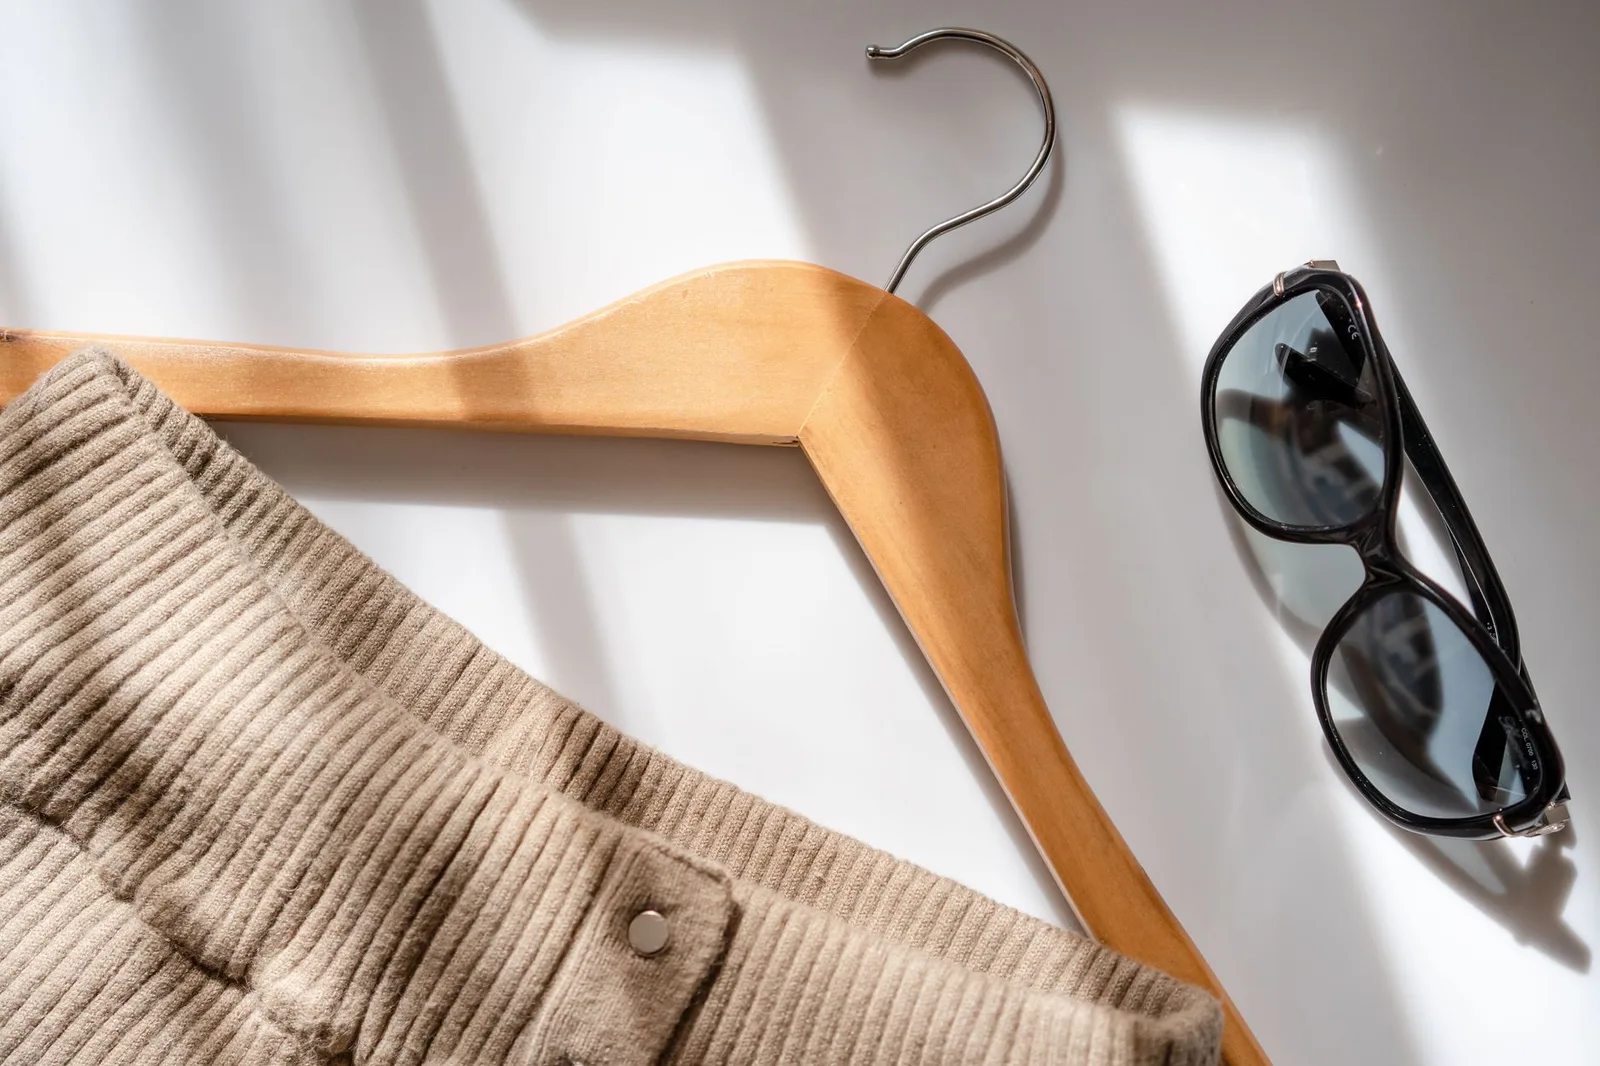
On a hanger against a wall. Faster than a flat lay and shows how the garment hangs, which a flat lay cannot. Good for jackets and anything structured.
Detail shots. Close-ups of the collar construction, the hem stitching, the fabric texture, and any flaws. For resale, photographing the flaws honestly is what prevents disputes, and it is what you would want as a buyer.
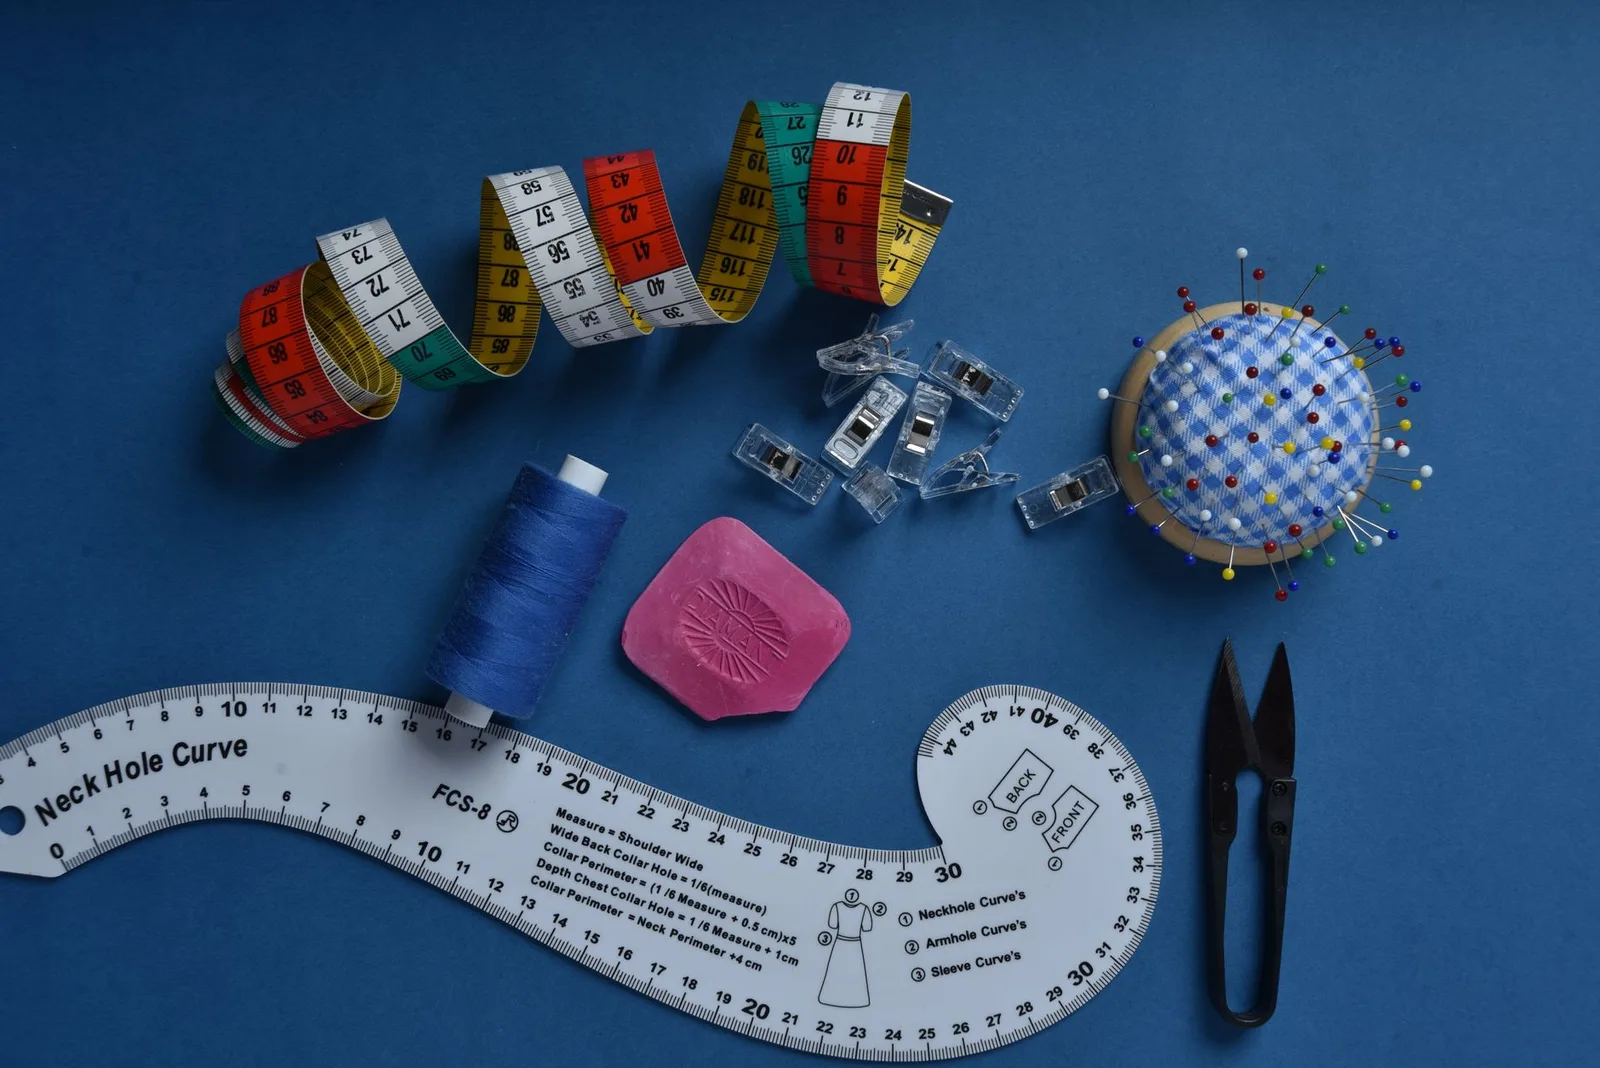
Include something for scale if the size matters — a tape measure laid across the chest is far more informative than any description.
Color accuracy
Phones aggressively process images, and the result frequently is not the color of the thing.
- Turn off filters and beauty modes. They shift color and smooth texture, which destroys any sense of what a fabric is like.
- Avoid strongly colored surroundings. A red wall bounces red onto everything near it.
- Check the photo against the actual garment before deciding it is accurate. Blacks in particular photograph as charcoal or navy depending on light.
- Do not oversaturate in editing. It is the most common way honest photos become misleading ones.
If you are photographing something for sale, color accuracy is not a stylistic preference. It is the main thing determining whether the buyer is happy, and washed-out or oversaturated photos are the most common cause of a return.
Posture and framing for outfit shots
A few things that consistently improve a full-length photo:
- Stand slightly angled rather than square to the camera. Straight-on is the flattest and least dimensional option.
- Leave headroom and floor space. Cropping tight at the head and feet makes an image feel cramped and hides how a garment ends, which is often the thing worth seeing.
- Let the arms come away from the body slightly, so the outfit's silhouette is visible rather than merged with the arms.
- Take several. The difference between the first and the sixth is usually large, and it costs nothing.
Photographing in artificial light
Sometimes daylight is not available, and the results are salvageable with a little care.
Use one light source rather than several. Multiple bulbs from different directions produce crossing shadows and mixed color temperatures, both of which look worse than a single imperfect source.
Get the light off the ceiling and onto a wall. Bouncing a lamp off a white wall turns a small hard source into a large soft one, which is most of what daylight was giving you. Pointing a lamp directly at yourself does the opposite.
Match the bulbs. If a room has both warm and cool bulbs, the photo will have a color cast that no amount of editing fully corrects.
Editing what you keep
Taking a hundred photographs and keeping all of them defeats the purpose, whether the purpose is a resale listing or a record of what you own.
For a listing, four or five images do the work: one full-length on the body, one flat lay showing the shape, one detail of the fabric, one of any flaw, and one of the label with the size and fiber content. More than that and buyers stop looking.
For a personal record, one clear photograph per outfit is plenty, and the value comes from being able to look back over them rather than from any single image. It is a surprisingly effective way to notice which pieces you actually wear — the same audit problem approached from a different direction.
Name files or albums by season. Six months later you will not remember which March this was.
The honest summary
Good window light, stand eight feet back, hold the camera level at the midpoint, plain background, no filters. That is the whole method, and it will produce photographs that show what the clothes actually look like — which matters whether you are selling a jacket, tracking what you own, or working out why an outfit that felt right did not photograph that way.